How Long to Burp Radiator: The Ultimate Guide for a Healthy Cooling System
It takes around 15-30 minutes to burp a radiator properly. Properly maintaining your vehicle’s radiator is crucial to ensure optimal performance and prevent overheating.
One important maintenance task is burping the radiator, which removes air pockets that can impede the cooling system’s efficiency. By understanding how long it takes to burp a radiator, you can plan your maintenance schedule accordingly. We will discuss the time it typically takes to burp a radiator, as well as the steps involved in the process.
By following these guidelines, you can keep your radiator in excellent condition and avoid costly repairs down the line. So let’s dive in and find out more about the efficient and timely burping of radiators.
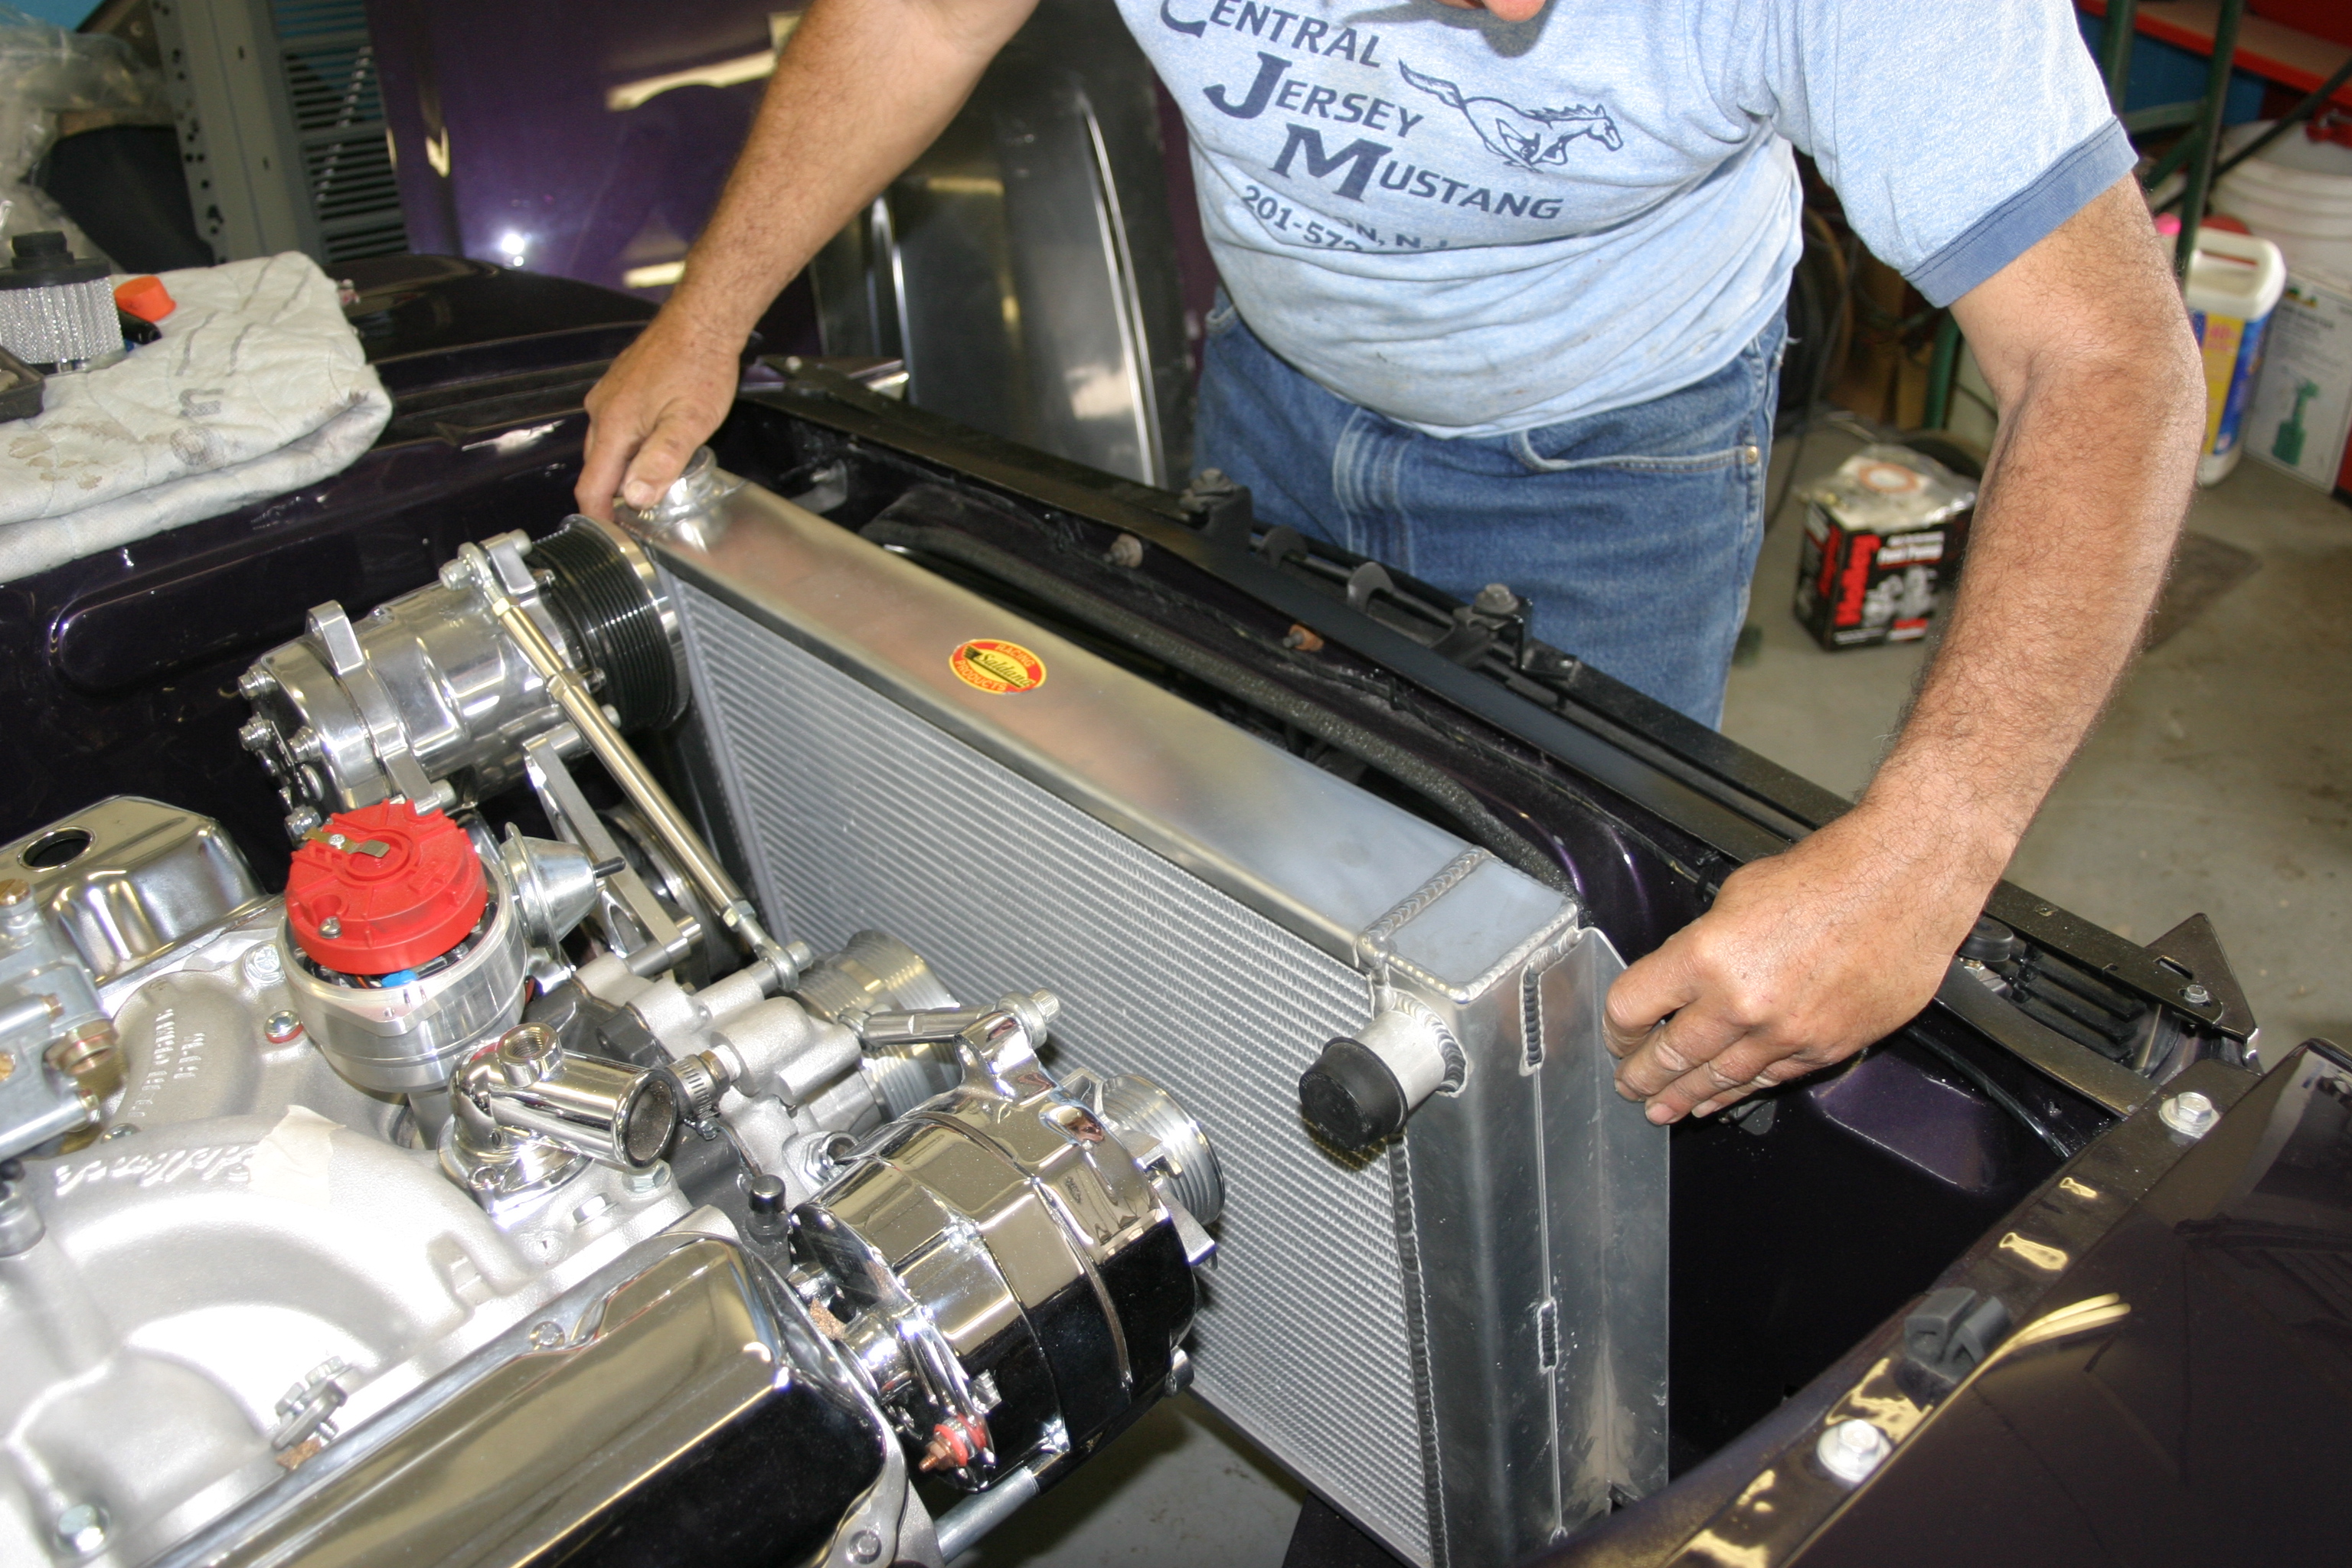
Credit: www.onallcylinders.com
Importance Of Burping Your Radiator Regularly
Regularly burping your radiator is important to maintain its efficiency and prevent potential issues. It is recommended to burp your radiator every 6-12 months to release trapped air and ensure proper heating in your home.
Regularly burping your radiator is crucial for preventing overheating and damage, as well as maintaining optimal cooling system performance. Neglecting this important maintenance task can lead to costly repairs and potential engine failure. Let’s explore the significance of burping your radiator in more detail:
Preventing Overheating And Damage
- Efficient heat dissipation: Burping your radiator releases trapped air pockets, ensuring proper coolant circulation. This prevents overheating and protects vital engine components from damage.
- Minimizing coolant loss: Air pockets can cause coolant loss, leading to reduced cooling capabilities and increased risk of overheating. Burping your radiator prevents coolant loss and helps maintain the appropriate fluid levels.
- Preventing airlock formation: Airlocks can form within the cooling system, hindering the flow of coolant and causing localized overheating. By burping your radiator, you eliminate airlocks, promoting even coolant distribution and preventing potential damage.
Maintaining Optimal Cooling System Performance
- Enhanced radiator efficiency: Burping your radiator removes air that may be trapped in the system, allowing coolant to effectively absorb and dissipate heat. This optimizes the radiator’s cooling efficiency, ensuring it operates at its maximum potential.
- Preserving engine lifespan: By regularly burping your radiator, you reduce the risk of engine overheating, which can lead to severe damage. Maintaining a properly functioning cooling system helps prolong your engine’s lifespan and prevents costly repairs.
- Consistent temperature regulation: Air pockets can cause irregular temperature fluctuations, leading to poor performance and increased fuel consumption. Burping your radiator helps maintain stable temperatures, promoting efficient engine operation.
Remember, burping your radiator is an essential maintenance task that should be performed periodically. By doing so, you can prevent overheating, minimize damage, and ensure the long-term performance and longevity of your cooling system. Don’t neglect this simple yet crucial step in keeping your radiator and engine in optimal condition.
Signs Your Radiator Needs Burping
If your radiator is not heating up properly or there are strange noises, it may need to be burped. The burping process usually takes about 15-30 minutes, but it can vary depending on the size and condition of the radiator.
If you notice any of the following signs, it may be an indication that your radiator needs burping. Take a look at the key indicators below:
- Uneven Temperature Distribution: Are some rooms in your house noticeably colder than others? Uneven temperature distribution throughout your home can indicate that trapped air is preventing your radiator from heating up properly. Keep an eye out for this telltale sign in different areas of your living space.
- Gurgling Noises: Do you hear strange gurgling or bubbling sounds coming from your radiator? These noises could be an indication that air is trapped inside your system. The presence of air bubbles prevents the smooth circulation of hot water, leading to these distinctive sounds. Pay attention to any unusual noises emanating from your radiator.
- Coolant Leaks: Have you noticed any coolant leaks around your radiator? Puddles of coolant on the floor or damp patches near the radiator may indicate a leak. When air gets into the system, it can cause pressure imbalances, leading to leaks in the radiator. Keep an eye out for any signs of coolant leakage.
Remember, addressing these signs promptly by burping your radiator can help restore proper functioning and prevent further damage. Be attentive to these indicators, as they can guide you towards maintaining an optimal heating system in your home.
Factors Affecting Burping Time
Factors affecting burping time for radiators vary depending on the size, type, and condition of the radiator, as well as the air pressure and temperature. Understanding these factors can help determine how long it takes to effectively burp a radiator.
When it comes to burping a radiator, several factors come into play that can affect the time it takes to complete the process. Understanding these factors is crucial for an effective and efficient burping experience. Below, we explore three key factors that can influence the duration of radiator burping:
Radiator Size And Capacity:
- Radiator size plays a significant role in determining the burping time. The larger the radiator, the more time it may take to effectively remove trapped air.
- Radiators with greater capacity can hold more air, resulting in a more extended burping process.
- The dimensions and design of the radiator can also impact the time needed to complete the task.
Airlock Severity:
- The severity of the airlock in the radiator affects how long it takes to burp effectively.
- If the airlock is minor, only a short amount of time may be required to remove the trapped air.
- However, severe airlocks can take longer to address, as additional steps may be needed to ensure complete removal of the trapped air.
Ambient Temperature:
- The ambient temperature of the surrounding environment can impact the speed of radiator burping.
- In colder environments, the process may take longer due to the air being more resistant to escape.
- Conversely, in warmer conditions, the air may expand more rapidly, facilitating quicker burping.
Understanding these factors allows you to gauge the expected burping time and plan accordingly.
Step-By-Step Guide To Burping Your Radiator
Learn how long it takes to burp your radiator with this step-by-step guide. Avoid common mistakes and keep your system running smoothly.
Is your radiator not performing at its best? It may be time to give it a good burping. Air bubbles can accumulate in your radiator over time, causing it to lose efficiency. Burping your radiator is a simple process that involves releasing trapped air and restoring optimal performance.
In this step-by-step guide, we’ll walk you through the process of burping your radiator to get it back to working as it should.
Gathering The Necessary Tools:
To successfully burp your radiator, you’ll need a few tools. Gather these items before you begin the process:
- Screwdriver or radiator key
- Clean cloth or towel
- Container to catch excess coolant
Identifying The Bleed Valve:
The first step in burping your radiator is to locate the bleed valve. This valve is typically found at the highest point of your radiator. It’s designed to release trapped air from the system. Refer to your radiator’s manual or manufacturer’s instructions to determine the exact location of the bleed valve.
Preparing The Cooling System:
Before you begin burping your radiator, it’s important to ensure the cooling system is cool. This minimizes the risk of injury from hot coolant. Follow these steps to prepare the cooling system:
- Turn off the heating system and allow the radiator to cool completely.
- Locate the main water supply valve and shut it off to prevent any water flow while burping the radiator.
- Place a clean cloth or towel beneath the bleed valve to catch any spilled coolant.
Releasing The Airlock:
Now that you’ve prepared the cooling system, it’s time to release the airlock from your radiator. Follow these steps to complete this process:
- Insert the screwdriver or radiator key into the bleed valve.
- Slowly turn the key counterclockwise to open the valve.
- You’ll hear a hissing sound as air is released from the radiator.
- Once any residue of air has been released, you’ll see a steady flow of coolant.
Monitoring Coolant Flow:
As the coolant flows steadily from the bleed valve, it’s important to keep a close eye on the process. Here are some key points to monitor during this step:
- Ensure the coolant flows consistently without any air bubbles.
- Check the color and clarity of the coolant. If it appears muddy or discolored, it may be time to flush the system.
- Keep an eye out for any leaks or drips. If you notice any, promptly address them to prevent further issues.
Closing The Bleed Valve:
Once the burping process is complete and the coolant is flowing smoothly, it’s time to close the bleed valve. Follow these steps to finish the process:
- Slowly turn the screwdriver or radiator key clockwise to close the bleed valve.
- Ensure the valve is closed securely to prevent any coolant leakage.
- Wipe away any excess coolant with a clean cloth or towel.
By following this step-by-step guide, you can effectively burp your radiator and restore its efficiency. Remember to refer to your radiator’s manual for specific instructions and always take necessary safety precautions.
General Maintenance Schedule
The general maintenance schedule for radiators recommends burping the radiator every 5 to 7 years to release trapped air and maintain optimal performance. Regular burping helps prevent overheating issues and extends the lifespan of your radiator.
Annual Radiator Inspection
- Regularly inspecting your radiator is an essential part of general maintenance for your vehicle. Here’s what you need to know:
- Check the exterior of the radiator for any signs of damage, such as leaks or cracks. If you notice any issues, it’s important to address them promptly to avoid further damage to the radiator or engine.
- Inspect the radiator hoses for wear and tear, as well as any signs of leakage. Replace any damaged hoses to ensure proper coolant circulation.
- Examine the radiator cap for any signs of corrosion or damage. A faulty radiator cap can lead to coolant leaks and overheating, so it’s crucial to replace it if necessary.
- Ensure that the radiator fan is in good working condition. Check for any unusual noises or vibrations coming from the fan and make any necessary repairs or replacements.
- Consider flushing the radiator and replacing the coolant at least once a year to remove any buildup or contaminants that may affect its efficiency.
Seasonal Coolant Level Check
- Checking the coolant level on a regular basis is important to ensure that your radiator functions optimally. Here are some key points to remember:
- Wait for the engine to cool down before checking the coolant level. Opening the radiator cap while the engine is hot can cause hot coolant to spray out and cause injury.
- Locate the radiator cap and remove it carefully. Use a coolant tester or dipstick to measure the coolant level. The level should be between the minimum and maximum markers on the tester.
- If the coolant level is low, add a mixture of coolant and distilled water according to the manufacturer’s recommendations. Avoid using tap water, as it may contain minerals that can cause corrosion.
- It’s important to maintain the correct coolant-to-water ratio for optimal performance. Check the vehicle’s manual for the recommended ratio and adjust accordingly.
- Regularly checking the coolant level can help identify any leaks or issues that may require immediate attention. If you notice a significant drop in coolant levels, it’s advisable to schedule a thorough inspection with a professional mechanic.
Regular Burping And Fluid Replacement
- Burping the radiator and replacing the coolant fluid are crucial steps in maintaining a healthy cooling system. Consider the following:
- Over time, air can become trapped in the cooling system, hindering the proper circulation of coolant. Burping the radiator helps release any trapped air, ensuring efficient cooling performance.
- To burp the radiator, locate the radiator cap and twist it counterclockwise to loosen it. Be cautious as the system may be under pressure. Slowly remove the cap to release any air. Once all the air has escaped, replace the cap securely.
- It’s important to regularly replace the coolant fluid to prevent it from becoming contaminated or losing its effectiveness. Follow the manufacturer’s recommendations for the appropriate coolant type and interval for replacement.
- When replacing the coolant, make sure the engine is cold to avoid burns. Slowly pour the new coolant into the radiator until it reaches the recommended level. Dispose of the old coolant properly, as it can be harmful to the environment.
- Regularly burping the radiator and replacing the coolant ensure that the cooling system operates at its best, preventing overheating and potential engine damage.
By following these general maintenance steps, you can prolong the lifespan of your radiator and promote efficient engine cooling. Keep in mind the importance of annual inspections, seasonal coolant level checks, and regular burping and fluid replacement to optimize your vehicle’s cooling system’s performance.
Diy Vs Professional Radiator Burping
Burping your radiator is a crucial step in maintaining its performance. While DIY methods can be effective, it’s best to call in a professional for more complex systems. The duration of the burping process depends on the size and complexity of the radiator, and the expertise of the person performing it.
Burping your radiator is an important maintenance task that can help keep your heating system functioning properly. While you can tackle this job yourself, there are also benefits to hiring a professional to perform the burping process. Let’s explore the pros and cons of each option, so you can make an informed decision based on your needs and capabilities.
Pros And Cons Of Diy Burping
Performing a DIY burping of your radiator can be a cost-effective option, especially if you’re comfortable with basic maintenance tasks. However, it’s important to consider both the advantages and disadvantages before deciding to go ahead on your own. Here are the pros and cons of DIY burping:
- Pros:
- Cost-effective: DIY burping can save you money, as you won’t have to pay for professional services.
- Convenience: You have control over the timing and scheduling of the burping process.
- Learning opportunity: By performing the burping yourself, you can gain knowledge and skills in radiator maintenance.
- Cons:
- Time-consuming: DIY burping may require more time and effort, especially if you’re not familiar with the process.
- Technical difficulties: If you lack experience or knowledge, there’s a chance of making mistakes that could potentially damage your heating system.
- Limited expertise: As a non-professional, you may not have the same level of expertise and equipment as a trained technician.
Benefits Of Professional Burping Services
Hiring a professional to burp your radiator offers several advantages over the DIY approach. These benefits can make a significant difference in ensuring a thorough and successful burping process. Here are the key benefits of professional burping services:
- Expertise and experience: Professionals have the necessary knowledge and experience to perform radiator burping correctly and efficiently, minimizing the risk of errors.
- Efficient and time-saving: Professionals can complete the burping process in a shorter time frame, allowing you to resume normal heating operations promptly.
- Avoiding complications: A trained technician can identify any underlying issues or potential problems during the burping process, preventing future complications.
- Warranty protection: Professional service often comes with warranties, ensuring that if any issues arise post-burping, you can rely on the technician’s expertise for support and resolution.
Making An Informed Decision
Now that you have an understanding of the pros and cons of DIY burping and the benefits of professional burping services, it’s time to make an informed decision. Consider your comfort level with maintenance tasks, your availability, and the complexity of your heating system.
If you’re unsure or lack the necessary skills, it may be wise to opt for professional burping services to ensure the proper functioning and longevity of your radiator.
Remember, whether you choose the DIY route or professional assistance, regular radiator burping is essential for optimal performance and efficiency.
Routine Cooling System Checks
Regular checks of your cooling system are crucial to keep your radiator burping efficiently. Discover how long it takes to burp your radiator and ensure efficient cooling for your vehicle.
Regular Coolant Level Inspection:
- Check the coolant level in the radiator at least once a month.
- Look for the coolant reservoir or overflow tank and ensure it is at the proper level.
- If the coolant level is low, add a mixture of equal parts coolant and distilled water until it reaches the recommended level.
- It is important to maintain the correct coolant level as it helps prevent engine overheating and damage.
Flushing and Replacing Coolant:
- Flushing the coolant involves removing the existing coolant from the system and replacing it with fresh liquid.
- Follow the manufacturer’s recommendations for how often to flush and replace the coolant. Typically, it is recommended to do this every 2-3 years or after a certain number of miles.
- Flushing the coolant helps remove dirt, debris, and rust particles that can accumulate over time, improving the cooling system’s efficiency.
- It also helps prevent corrosion and extends the lifespan of the radiator and other cooling system components.
Radiator Cap Maintenance:
- The radiator cap is responsible for maintaining the correct pressure in the cooling system.
- Regularly inspect the radiator cap for any signs of damage or wear. If it appears damaged, it should be replaced.
- The cap should be tightly sealed to prevent coolant leakage and maintain proper pressure.
- Check the rubber seal on the underside of the cap to ensure it is intact and not cracked or worn out.
- If the cap needs to be replaced, make sure to use a cap with the correct pressure rating as specified by the manufacturer.
Performing routine cooling system checks is essential to keep your radiator functioning effectively and to prevent engine overheating. Regular coolant level inspections, flushing and replacing of coolant every few years, and proper maintenance of the radiator cap will help ensure the longevity of your cooling system.
By following these steps, you can maintain optimal engine temperature and protect your vehicle from potential damage.
Detecting And Addressing Common Cooling System Issues
Burping your radiator is an essential part of maintaining your cooling system. Learn how long it takes and why it’s important to address common cooling system issues in this helpful guide.
Identifying Radiator Leaks:
- Look for signs of coolant leakage on the ground beneath your vehicle.
- Inspect the radiator for visible cracks, rust, or damage.
- Check the radiator cap for any signs of wear or deterioration.
- Use a pressure tester to determine if there are any leaks in the radiator.
- Look for white smoke coming from the exhaust, which may indicate a coolant leak.
- Keep an eye out for overheating, as this could be a symptom of a radiator leak.
Fixing Damaged Hoses And Belts:
- Check the hoses for any cracks, leaks, or bulges.
- Replace any damaged hoses to prevent coolant leaks.
- Inspect the belts for signs of wear, such as fraying or cracking.
- Tighten or replace loose or damaged belts to ensure proper functioning of the cooling system.
- Regularly check the tension of the belts to prevent slipping or excessive wear.
Addressing Malfunctioning Thermostat:
- Check if the thermostat is stuck open or closed.
- Replace a stuck open thermostat to allow proper coolant flow.
- Replace a stuck closed thermostat to prevent overheating.
- Ensure that the thermostat is the correct one for your vehicle’s make and model.
- Consider using a thermostat with a lower temperature rating if your vehicle tends to run hot.
By following these guidelines, you can effectively detect and address common cooling system issues. Identifying radiator leaks, fixing damaged hoses and belts, and addressing a malfunctioning thermostat will help ensure your vehicle’s cooling system performs optimally. Regular maintenance and prompt action can prevent more serious problems and save you from costly repairs down the line.
Keep an eye on your cooling system and address any issues promptly to maintain a reliable and efficient radiator.
Frequently Asked Questions Of How Long To Burp Radiator
How Long Does It Take To Burp A Radiator?
Burping a radiator usually takes about 10-15 minutes. However, the exact time can vary depending on the size of the radiator and the amount of air trapped inside. It’s important to follow the manufacturer’s instructions and ensure that all air bubbles are released for optimal performance.
Why Does A Radiator Need To Be Burped?
Radiators need to be burped to remove trapped air bubbles that can prevent efficient heating. When air gets trapped inside the radiator, it can create pockets of cold spots, reduce heat output, and cause unnecessary strain on the system. Burping the radiator helps to maintain optimal heating performance and prevent potential damage.
How Often Should I Burp My Radiator?
It is recommended to burp your radiator at least once a year, preferably before the start of the heating season. However, if you notice any signs of reduced heating efficiency or cold spots, it may be necessary to burp the radiator more frequently.
Regular maintenance and burping can help ensure the longevity and reliable performance of your radiator.
Conclusion
Understanding how long to burp a radiator is crucial for maintaining optimal performance and preventing potential overheating issues. By following a few simple steps, you can effectively release any trapped air and ensure that your radiator is operating at its best.
Remember to consult your vehicle’s manual or seek professional advice if you are unsure about the specific instructions for your car. Regularly checking and burping your radiator can help prolong its lifespan and improve the overall efficiency of your cooling system.
By taking the time to follow the correct procedure, you can save yourself from costly repairs down the line. So, the next time you notice your engine temperature rising or your heating system not working properly, consider burping your radiator as a potential solution.
Happy car maintenance!


